
These days we have become accustomed to buying all our plants in pots, lined out at garden centres and available all year round. It’s the horticultural equivalent of the supermarkets having tomatoes and avocados on the shelves every week of the year – highly convenient for the consumer, but possibly not always best practice in terms of price or the environment.
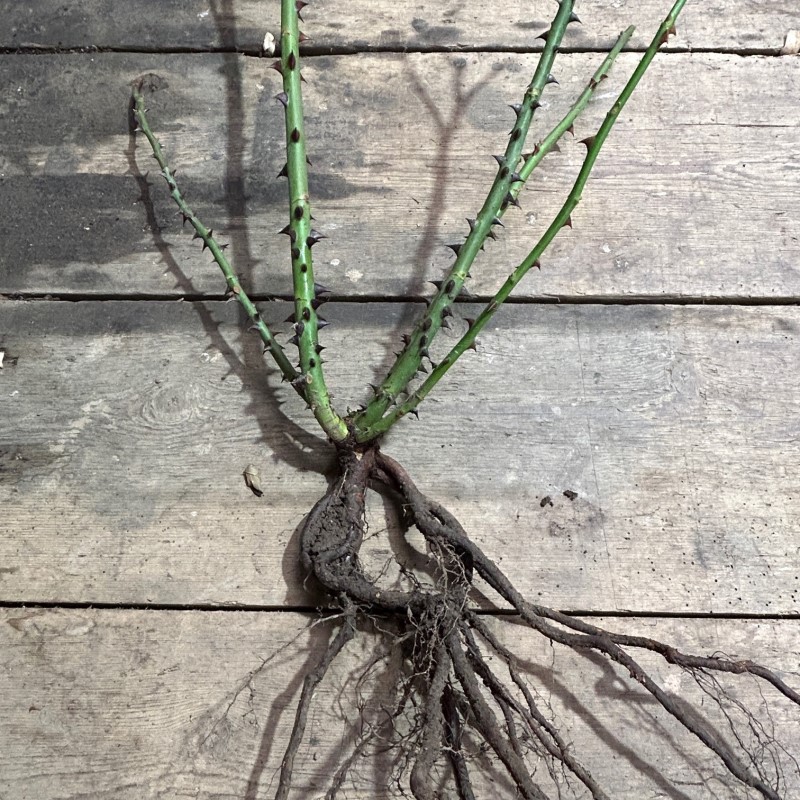
Go back 60 years or so, before the introduction of polypropylene and polyethylene plastics used for plant pots, and just about the only way to buy new shrubs, roses and trees was as bare root plants in the winter. Nurseries would grow all their plants out in open fields, and the once they were dormant in the winter months, they would be dug from the fields, packed and sent out to customers for planting. It’s become less common – potted plants are easier to handle and available all year round – but we are one of the UK nurseries who still offer bare root trees and roses, all grown here on our 200 acre site in Pickering.
The obvious drawback is that the plants are only available for 5 months of the year – once the roses have come into growth in early April they cannot be moved – so gardeners do need to plan ahead. But the advantages to buying bare root considerably outweigh this negative; better and more extensive root system, a hardier plant which has been grown outside rather than forced under glass, and they are slightly cheaper too.
How to plant a bare root rose:
Bare root roses can be planted at any time between November and March. The only time you cannot plant is if the ground is frozen solid. Bare root roses should ideally be planted within 4 days of arrival. If ground conditions are unsuitable, then either ‘heel’ the rose into a temporary site (a warm compost heap is ideal), or plunge the roots into an open bag of compost. No need to soak the roots before planting, just make sure to keep the roots covered and protected at all times.
Dig a generous hole -for most garden roses this should be approx. 40cm (16”) square and about 30cm (12”) deep. Incorporate some organic matter into the base of the hole, and into the excavated soil. Well-rotted manure is ideal, but homemade compost or bagged Tree and Shrub Compost is good too – the idea is to improve the structure of the soil and achieve the happy medium of moisture retentive but still reasonably free-draining.
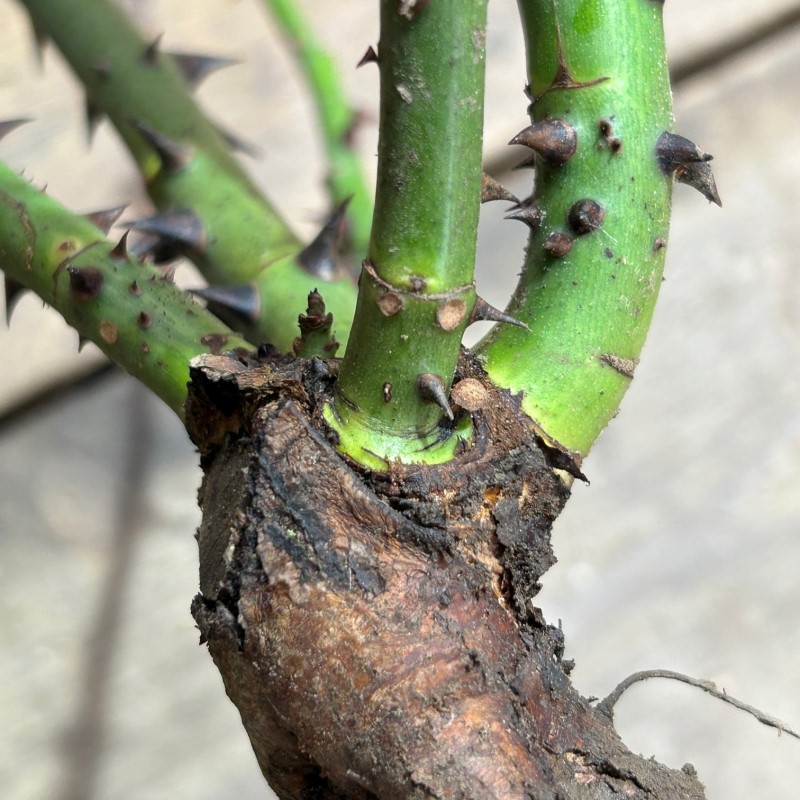
The union between the rootstock and the new stems should be planted at soil level.
Place the rose in the centre of the hole, and use a small cane placed across the top of the hole to make sure the rose is planted to the right level. The graft union (where the variety joins the rootstock) should be level or at most 1cm beneath soil level. Back fill the hole if necessary to get this correct, as roses planted too deeply or too shallowly will struggle.
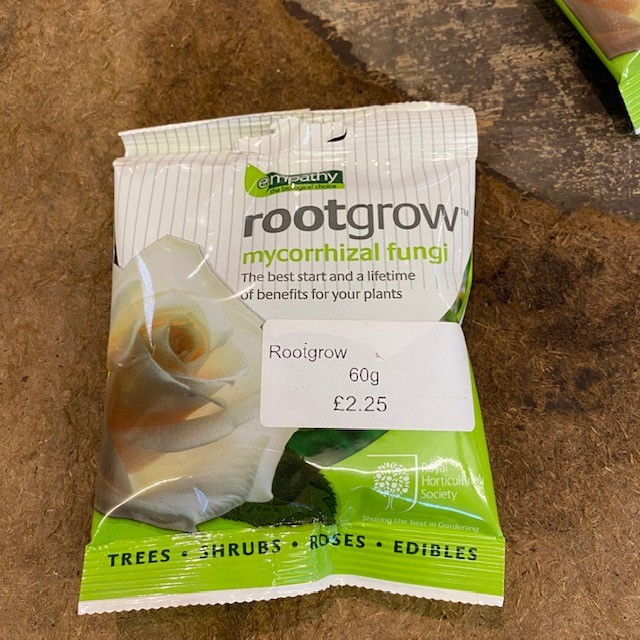
Then it’s a very good idea to use a mycorrhizal fungi product such as Rootgrow – sprinkle the recommended amount over the roots – and then back fill the hole. Shake the rose gently as you backfill, so the soil settles in between the roots.
When finished, firm in well – roses hate to be planted loosely, and if rocked by the wind can die.
No need to water in, the next shower of rain will do the job, but keep a close eye on watering as from March when the rose comes into growth.
All newly planted roses should be pruned back hard once the worst of the winter weather is over. Cut back to about 10cm above soil level, to an outward-facing bud. This encourages good strong bushy growth.